- About Us
-
Trips
-
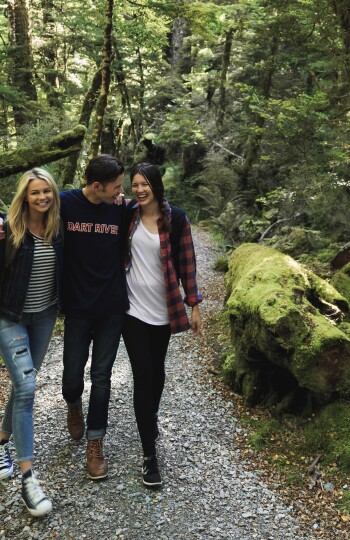
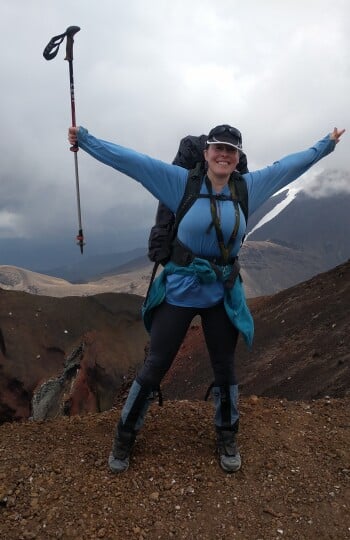
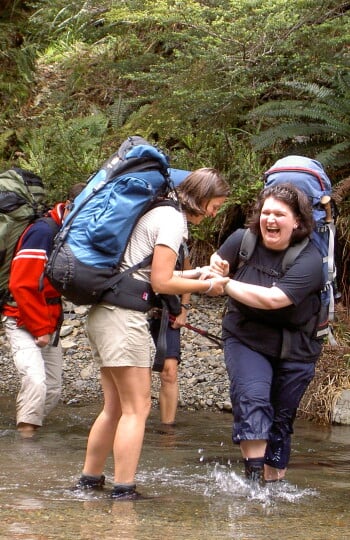
 Kiwi-Style Hiking
-
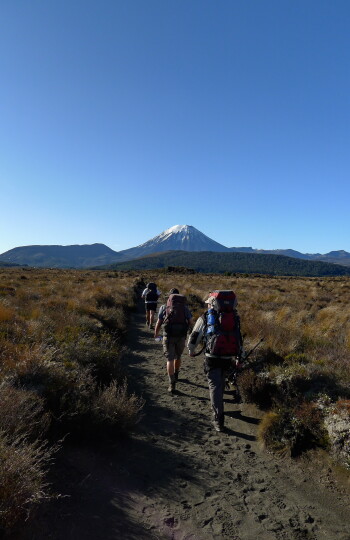
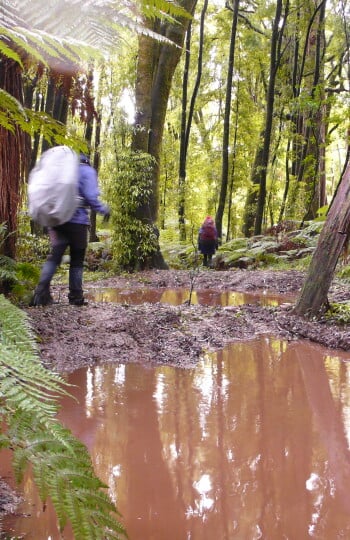
 Great Walks
-
 Hiking Tours
-
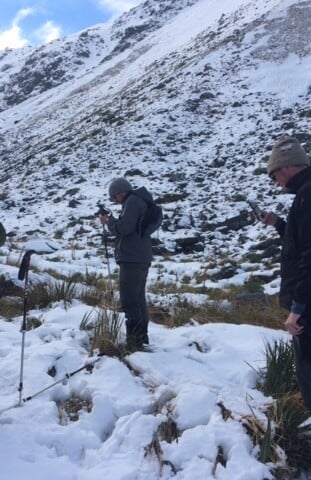
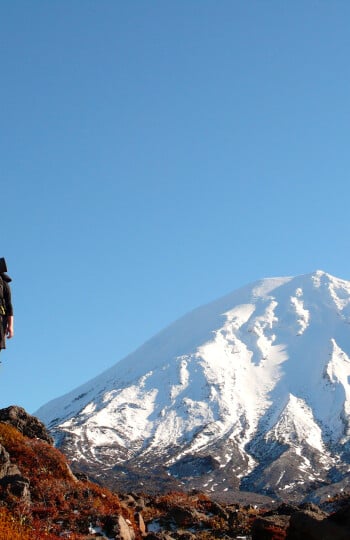
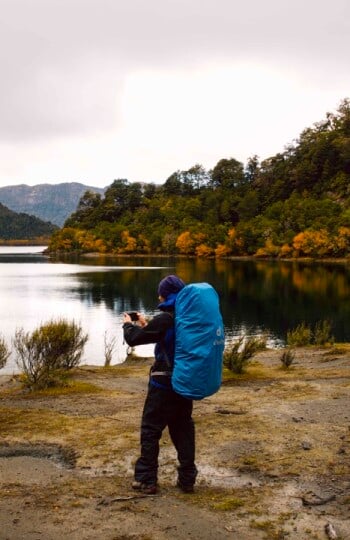
 Alpine Hikes
-
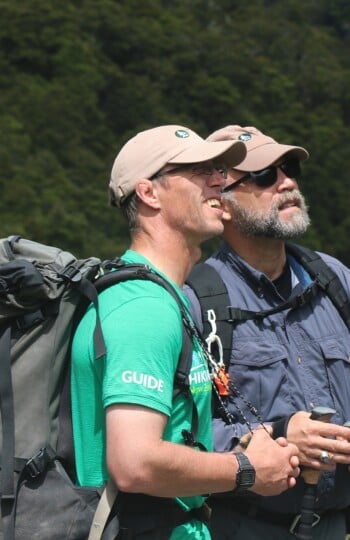
 Custom Groups
- Huayhuash Trek
- Family Northern Explorer
- Family Southern Explorer
- Lake Waikaremoana Hike
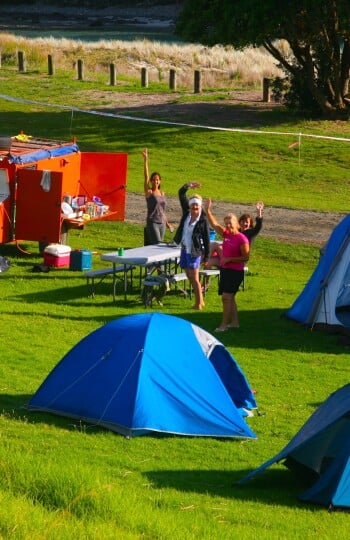
- Women's Custom Tours
- Women's Southern Wilderness
- Coast, Canyons and Mountains
- Coastal Wanderer Custom Tour
- Don't Cross the Ladies
- Secret South Custom Tour
- Tekapo Hike
- West Coast Custom Tour
- World Heritage Custom Tour
-
- Blog
- Shortlist